Friday, 19 April 2013

I am such a messy messy person!!

YAYYYYYYYYYYYYYY!
I love making things i actually use and get to play with!

So this week i made...........DRUMROOLLLLLL............Chalkboards yeahhhhhhhhh!

So i made chalkboard paint, and painted some old wood my daddio brought me.
and i was so amazed they work, and they wipe chalk off with a damp cloth :)
so happy! so lets get started shall we?

Chalkboards at home

So, you'll need:

  • Black paint (or any colour your chalkboard will be)
  • Course tiling grout
  • Paintbrush
  • Mixing pot & mixing stick
  • Something to paint onto (wood, wall, etc..)
So first things first, make sure you prep your area, a few sheets of newspaper will do the trick. You can do it outside if it's easier but it was super windy and raining slightly so i had to make do with the breakfast bar.

Now I'm angry because picmonkey isn't playing my game, and isn't letting me edit my pictures. GRR.
and now it has:

Also i was watching celebrity juice so help pass the painting time :)

So, you can prepare your wood, sand it down if you need to, and prime it. I was going for a rustic look so i just painted it straight onto it, but it depends what you're doing!

 Next you want to mix equal amounts of grout and paint. Really i put more grout in after it was mixed, just because it looked like it needed some more. I think it's down to how your mixture looks when it's all mixed through.

And this is what it looked like after i mixed it. Now because the grout was white and the paint is black its going to go grey, not black. But i promise it dries darker.


Now you want to grab your paintbrush and get painting. As mine was a thick mixture you could see where it had been painted on, but again this adds to the rustic look i was going for.


This is the other piece i was doing! i didn't even clean it i just painted straight onto it. Again, you can prepare it if you like.

 Now after they are painted with one coat, you want go do another coat on them and let them completely dry before you use them. I waited about 2 days just to make sure they were fully dry.
This is what they ended up looking like!

I don't think they're fully dry in the picture but they certainly look like chalkboards to me!
Now because I'm brilliant i don't have picture of them with stuff on, but i do have a picture of the stall i used them on this week!

My pretty stall!! :)

I'm making bath fizzes next week so I might blog about that next!!

So it's now time to end, and i have to find a funny picture....but what will it be this week...

LETS SEE!

NOPE NEVERMIND

hahaha, first picture i found. 
i blood loved it!!

Byes!


Wednesday, 3 April 2013

Oh shizz! Help!

I'm majorly in very deep doo doo.  Also, Hello blogworld :)
Because i can't time manage at all lately. and there isn't enough time in the day :(

So I'm doing a craft stall at a spring fayre this weekend.
Everything I've made isn't enough, and i need to make more. There's only so much soap that can be made in a day!

Yes i make lots of soap and its cool :) If you don't make soap you aren't cool!

I've done a to-do list, bearing in mind this stall is in 3 days, and it currently has 10 things on it which no doubt more will be added to also. So I'm going to say 15 things :(

AND I'M STUPIDLY POORLY.

But i will show you what i made last week, and my nearly finished bedroom!
It's painted all pretty and pastel. Now i just need to find my camera....
Maybe i should do more DIY stuff, it's fun :)

Number one today is the coaster i made, really i was just messing about and hoping i could make one, for future reference...
and here it is, basic but doable for everyone!

 Look it's a tile!
 Look! The reverse of a tile!
Now, you need to cut a piece of material the same size of the tile, this is going to be glued to the bottom. I used a hot glue gun, and run it around the edges to create a lip for the coaster to sit on.
 So this is the underside of it all, ready to go and be used. I forgot to paint up the edges of the tile, so it looks really untidy! i forget everything i do!
And there we are! a finished coaster!
At least we know how easy it is to make one now :)
and in the future i will make pretty pretty ones!!


Next on my list! Is my very pretty bedrooooom!

So this is my bedroom before:

 Plain, beige, boring and ready to be painted pretty!!

And this is what i made it into, it doesn't look much but it sure is pretty now it's all dry!


And you wanna see the best things?!?!?!?!


So. bloody. pretty!!

Next thing, and final thing for today!
ARTWORK!
i love painting, it's no secret at all!
So when i could do my painting i was a very happy panda.
(yes i refer to myself as a panda)

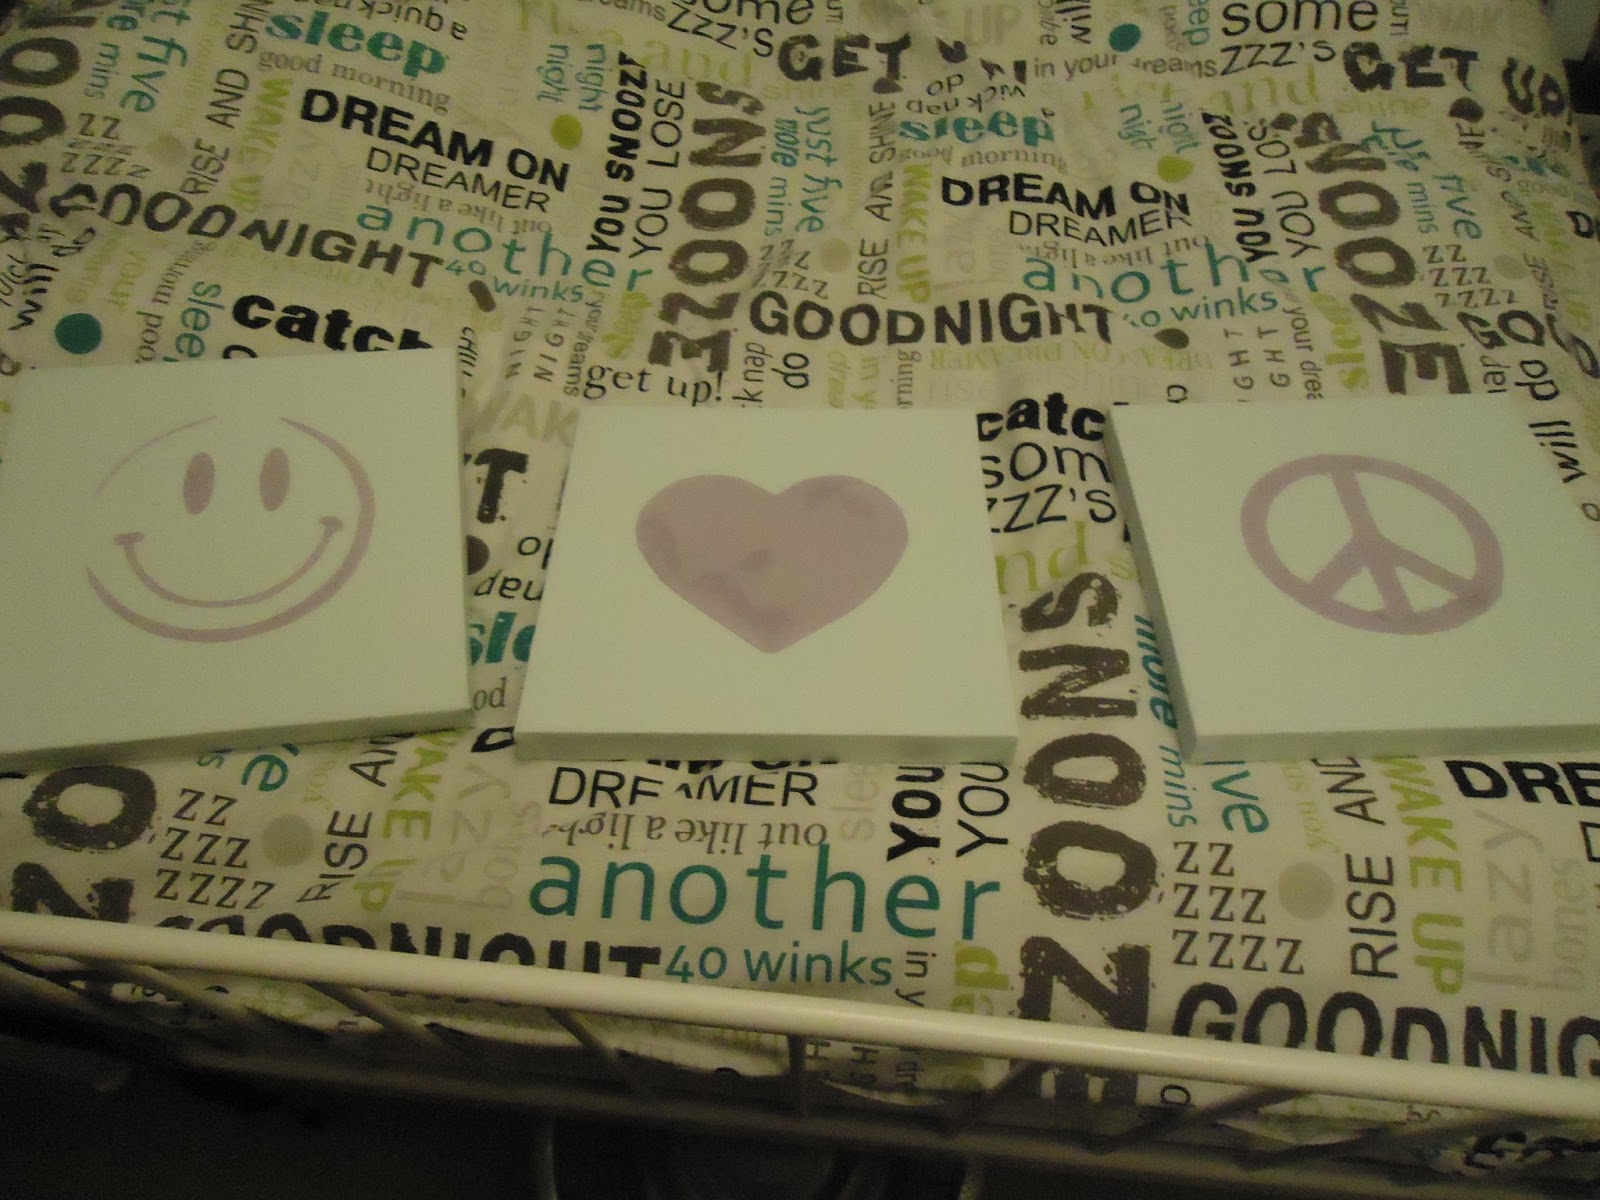
 So the first thing was to paint them all the base colour, which is a gorgeous pale blue! i did three coats until it was thick enough so you couldn't see under it!

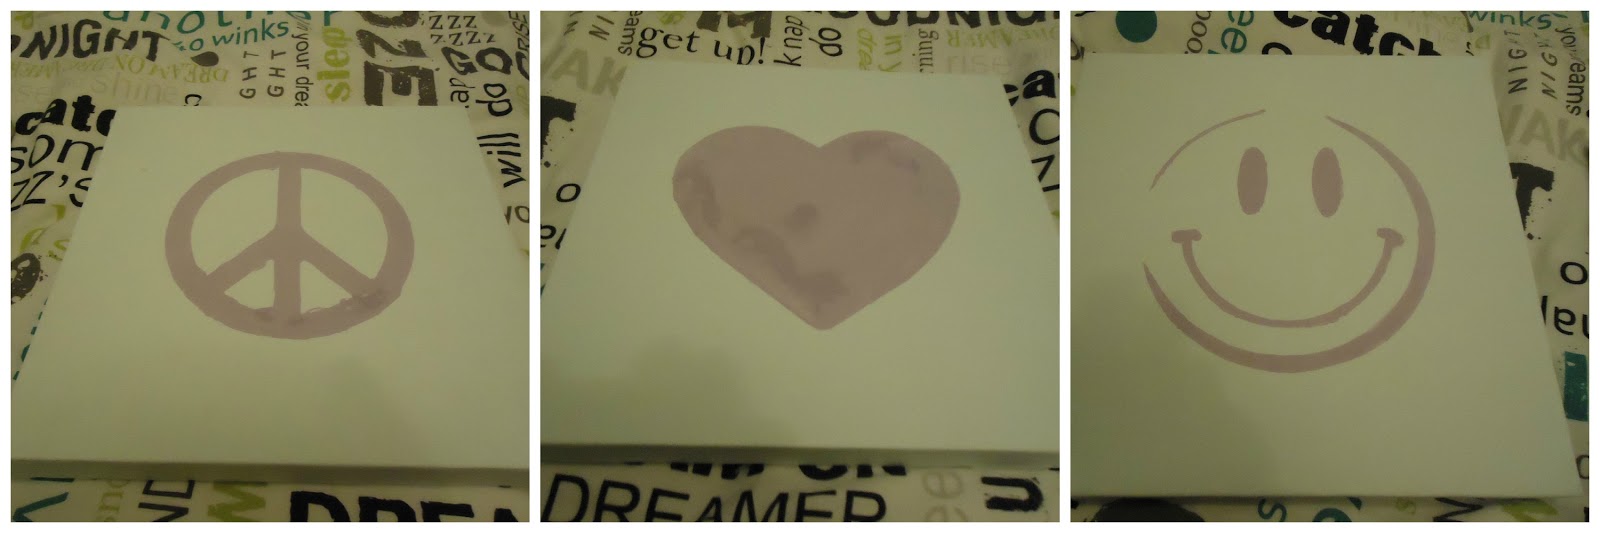
Next was to paint my images on them, which was lots of fun, in my other colour, purple.
And this is how they looked!!


So pretty :)


And here they are individually!


After they dried they were perfect!
I just need to get them onto my wall...
That's my next project!
Now i need some shelves, my mirror up, and a magical fairy to do everything for me!!

That's all for now folks!
Lets end with a funnies shall we?


DO YOU KNOW THE MUFFIN MAN??

Byes!


Friday, 8 March 2013

It feels like forever! and Mario cupcakes!!!!

It honestly seems like forever since I've posted anything!
I've been really busy and superbly tired!
But i do have some things to talk about!!
have a list:
1. silhouette cameo review
2. recycling glass lamp shades
3. half way done pin board (yeah this isn't really much)
4. getting distracted playing Super Mario Galaxy
5. Paper craft!

 I might not talk about these even in order, i get overly excited. Today it was by ribbon, i like ribbon!

Sooooooo, firstly, while its fresh in my mind.
I've been using the silhouette cameo die cutting machine today!
I absolutely could marry this machine, it cuts lovely!
once you've spent 3 hours making love to it and finding out exactly how to work it, and get the blade settings right and everything then you might actually be able to use it!
Don't get me started on the stupid cutting mat.
I get it has to be sticky so that the paper doesn't fly out everywhere when its cut. but COME ON, why so sticky? the paper sticks to it and you waste so much paper!!

Moron stupid cutting mat.
If you don't know this machine is about £270 or something, and is for professionals really, it looks like this:

there is a cheaper one available for £180 called the portrait, and oh my Jesus i want one!

I'd sell a kidney. You have two of those right?

So, the next thing on my list, that i want to talk about, is number 5 PAPER CRAFT WOO!

Making pretty boxes is so much fun. i could actually do it all day!

The ultimate pro embossing board, as it is called, has all the tools ready for making boxes, or just embossing paper. It is really quite cool. I have a natural talent of these things and was able to make whatever i fancied straight away. Now i don't have any pictures of the boxes i made because I'm a moron and never remember.

Nobody expects me to have pictures anymore because I'm rubbish at it!


this is what it looks like though, and its very easy to use :) even comes with DVDs to tell you how to :)

Now what is number 2? i have to scroll up to the top..recycling my lamp shades!

I had this old fan light that i had taken down and i saved the lamp shades from them. This enabled me to be able to make some fancy little candle holders :) and this is how!

Take said lamp shade, as seen here...

 and also seen here too...

 Then find a tin lid for a jar that the bottom fits in comfortably, make sure its not too big or it might look odd.


 You need to spray paint the lid, i did it in silver because I've used all my white spray paint like a dingbat. Make sure you spray both sides and its all equally covered.


 Then assemble your little work station. Everyone knows no work station is complete without a cuppa tea, so this is how your work station should look, and if it doesn't then you're wrong in the face!
Glue gun and extension cord uncomfortably close the knock over-able tea....oops..


Heat up your glue gun and apply a line of glue to the underside of the candle, you have to work quickly here because the hot glue sets really fast, as i found out...


 Glue them both together so they stick firmly, if you haven't done it quick enough then it won't stick!

 And then we have a new candle holder, made from recyclable materials :)
which is good for the world, and also my mantle piece, so win win!

I think it looks a bit ornate and pretty, and nobody else has one :) so nyerrrrrrrr!

and I'm tired right now and don't wanna look at my screen anymore so lets have a pretty picture to lol at and wait til tomorrow for a new post :) lets see what i can find...

okay so this isn't funny, but OH MY JESUS I WANT IT. AND IF I DON'T GET IT I'M GOING TO CRY!
Photo: Mario Cupcake Tower

Byes lovers!

Tuesday, 12 February 2013

I'm so proud of myself you know...

So I'm doing this volunteering thing through the job centre, and i love it.
it's so crafty but almost over.
sad panda.

Anyway, i get to make some soap and metalwork and messing about with things generally :) Fabulously the company is actually going to sell them :)
Up on the website and everything!

Ahhhhhhhhhhhhhh it's so pretty. and I'm so proud of myself :)
I've done more too which hopefully be put on!
I just like hammering into the metal! yay me!

You can find the place they sell copper tags and soap and things over here

So really short this time but i do have more to put up :)
My pictures are all on my Ipad and that means syncing them up with my laptop, takes effort!

But that's all my sexy's

Is It Your Time of the Dementor's Kiss?

hehe :)
Byesies!

Tuesday, 5 February 2013

Sorry blog world!

I know I've been away for awhile, we'll over a week anyway!

My poor laptop has died with my pictures on and anything I was even thinking of doing. This makes me sad.

But on a plus side I do have some pictures of what I've done from my iPad, and also a few pictures of what I've been doing, well playing with.

If I can figure out how to add pictures not his thing! I want my laptop back :(

Hope fully I can get the first thing up now...

So this is a Christmas present I painted for my sister in law, that I've finally got around to uploading. As everyone knows m rubbish at this so I didn't take a picture before I gave it. I am rubbish.

So here we go :)

Oh they are pretty, is actually like this for once.
Just acrylic paints on a spray painted canvas, me love.

So this stupid publishing thing that blogger uses on iPads makes all the pictures go to the bottom! So I can't put anything else on ill have to make another post about the other things or wait until my laptop is fixed and back to me! That means no funny picture too :(

Goodnight blog world! Enjoy my work :)
-Amy Frances


Saturday, 26 January 2013

Valentines card printables of titanic proportions!

So i made pretty cards you can print off, just as a bit of stuff, i love messing with my imaging software :)

I'm not very good with the pink hearts and soppy girlyness, so this was hard to do it and make it girly.
So we have the number 1 card, which is pink and girly, and not too bad...
They're all in A4 , i think, well that's what i made them to!


Just simple and pink, nothing special! click the link and you should be able to download the file, which we love.

Numbero two...
i love this one, its more for couples that don't get to see each either so much. Which i guess is why i like it, cryyyyyyyy to myself....

anyway, i think its pretty, and sweet and simple.

Instead of an in your face valentines car, i think its very understated, leaving you to write your message inside rather than all over the cover.

Third one. Two words, mega cute.

Do you like owls? and love? WELL HERE WE GO....
BOTH OF THEM TOGETHER!
Unfortunately i can't find the link to credit the cute owl design! So if you see this and it's yours I'm sorry i cant find you!
Though i still believe nobody reads what i ramble on about....
ANYWAY

So that's my short blog for today, i want to do some painting and drawing so you might get another one soon of some of my doodles :)
You know what I'm like though, disorganised and rubbish. I need to make a blog planner and actually follow a schedule!

So funny picture time....what shall we do today....lets see.

"My Heart Will Go On" is Now Stuck in Your Head

Titanic puns....funny :)
Byes!

Sunday, 20 January 2013

Fabric Paint, Hot glue and a warm fire!

Hellloooooooo blogworld!
It's sunday, and it'd cold. The world is full of snow and I'm trying to avoid it in front of the fire.
You'll see all my pictures with me in front of the fire, because it's cold! and i mean, toe dropping off cold.

So i ordered some fabric and some fabric paint from eBay, and just needed to find a design i wanted to do.


 I saw a really nice picture on the interwebs but it just wasn't for me, that's until i opened up my image editing software and made it for me! A bit of colour editing, contrast messing and posterising made it something i like!
Make sure your fabric covers over your canvas! i didn't really i just guessed and it nearly didn't fit!


After printing it out i had to draw it onto my canvas, which took awhile and i didn't actually follow most of the picture! To be able to see it through the fabric i had to go over it all with a dark colour, and then a darker colour coz i didn't think about it properly!


So i sellotaped the fabric to the canvas and i painted all the edges of the flowers, then filled them in. I'm not going to lie, this really took a loooooooooooong time. as well as trying to see through the fabric and not get my hand in the paint. So i filled it all in then went over it all because it needs to be a heavy coat.


I love these colours, they are brilliant :)
AND FOR ONCE i actually like something I've done.
which is new, coz i literally hate everything i paint or draw.

After you've painted it takes forever to dry. The bottle says 2 whole days. WHO CAN WAIT THAT LONG?!
So after i lost all my patience went, it was finally time to wash the fabric YAYAYAYAY! So don't boil the crap out of it, wash it on a friendly wash, or hand wash it like i did (i don't have a choice i don't have a washer.)
Then you have to let it hang dry, don't put it in a dryer.
Lucky for me i have a nice hot fire to speed things up for me ;) it's not really cheating...i did hang it...


So it's all dry now and its time to iron it all pretty like! After it's all straight with no kinks or creases in its time to glue it all together. Turn on your glue gun so it's heats up nicely. Lay out the fabric in the position it needs to go and the canvas on top of it. Because i decided i was drawing the pattern on the canvas i needed to match them up properly so it didn't look silly!

First thing to do is glue all the corners in, and not to burn your fingers...i did...twice.
Next is to fold in the flaps, it's sort of like harder present wrapping, when they don't meet.
and the next series of flaps so that all the material is folded and glued in place, then go over any bits where its not fastened down properly!


If you want to attach some string on so you can hang it then just glue it into place with the hot glue gun!


And there you go, a lovely finished painting on a stupid red wall that needs to be green, no that's not where it's staying, that's the only place i have a hook!!


You know, thank god for spell check because i can't spell attached for the life in me, i always put an extra t in there. If there was no spell check then there would be alot of words with extra letter in....

SOOOOOOO
it's funny picture time i think? i should really plan these picture before i write it, but i don't because as usual everything is done in the wrong order with me. if i planned it i could come up with some great paragraph about how i found it, but no.
I type funny pictures into google and go for it!
NOW YOU KNOW MY SECRET!
so yeah....picture....

And the Infinite Sadness?

hehehe i love it!!

Byes!!